Every day, thousands of UK properties go live on Rightmove with photos taken on a phone. Some look brilliant. Most look like they were taken in a hurry, with a lamp in the way and curtains half-drawn. The difference isn't equipment — it's approach.
Here's how to get the most out of your iPhone before you even think about enhancement.
1. Shoot in landscape, always
Rightmove, Zoopla, and OnTheMarket all display photos in a wide 4:3 or 16:9 ratio. Portrait shots get cropped awkwardly or displayed with ugly black bars. Every single photo should be landscape. No exceptions.
2. Let in as much light as possible
Open every blind, every curtain, every internal door. Turn on every light in the room — including lamps and under-cabinet kitchen lights. Natural light from windows is ideal, but overhead lights fill in shadows and stop rooms looking cold.
The most common mistake is leaving blinds half-closed because they look "neater." They don't — they just make the room darker. Open everything, then tidy up.
3. Shoot from corners and doorways
You want to show as much of the room as possible in one frame. The best positions are almost always: standing in a corner, shooting diagonally across the room; or standing in the doorway, shooting straight in. Both show depth and make rooms appear larger.
Avoid shooting flat against one wall — it compresses the room and makes it look smaller than it is.
4. Use iPhone's grid and keep it level
Go to Settings → Camera and enable the grid. This gives you a horizon line to keep your shot perfectly level. Tilted photos look amateurish and make buyers feel uneasy without knowing why. Parallel lines — skirting boards, window frames, kitchen units — should all be straight.
5. Tap to expose correctly
By default, your iPhone tries to balance the exposure across the whole frame. This often means windows blow out to white while the rest of the room looks dark. Instead, tap directly on the darkest part of the room to expose for that area. Yes, the window may overexpose slightly — but AI enhancement tools (including ReShot) can recover sky and exterior detail far better than they can recover pitch-black shadows.
6. Shoot the exterior on an overcast day if possible
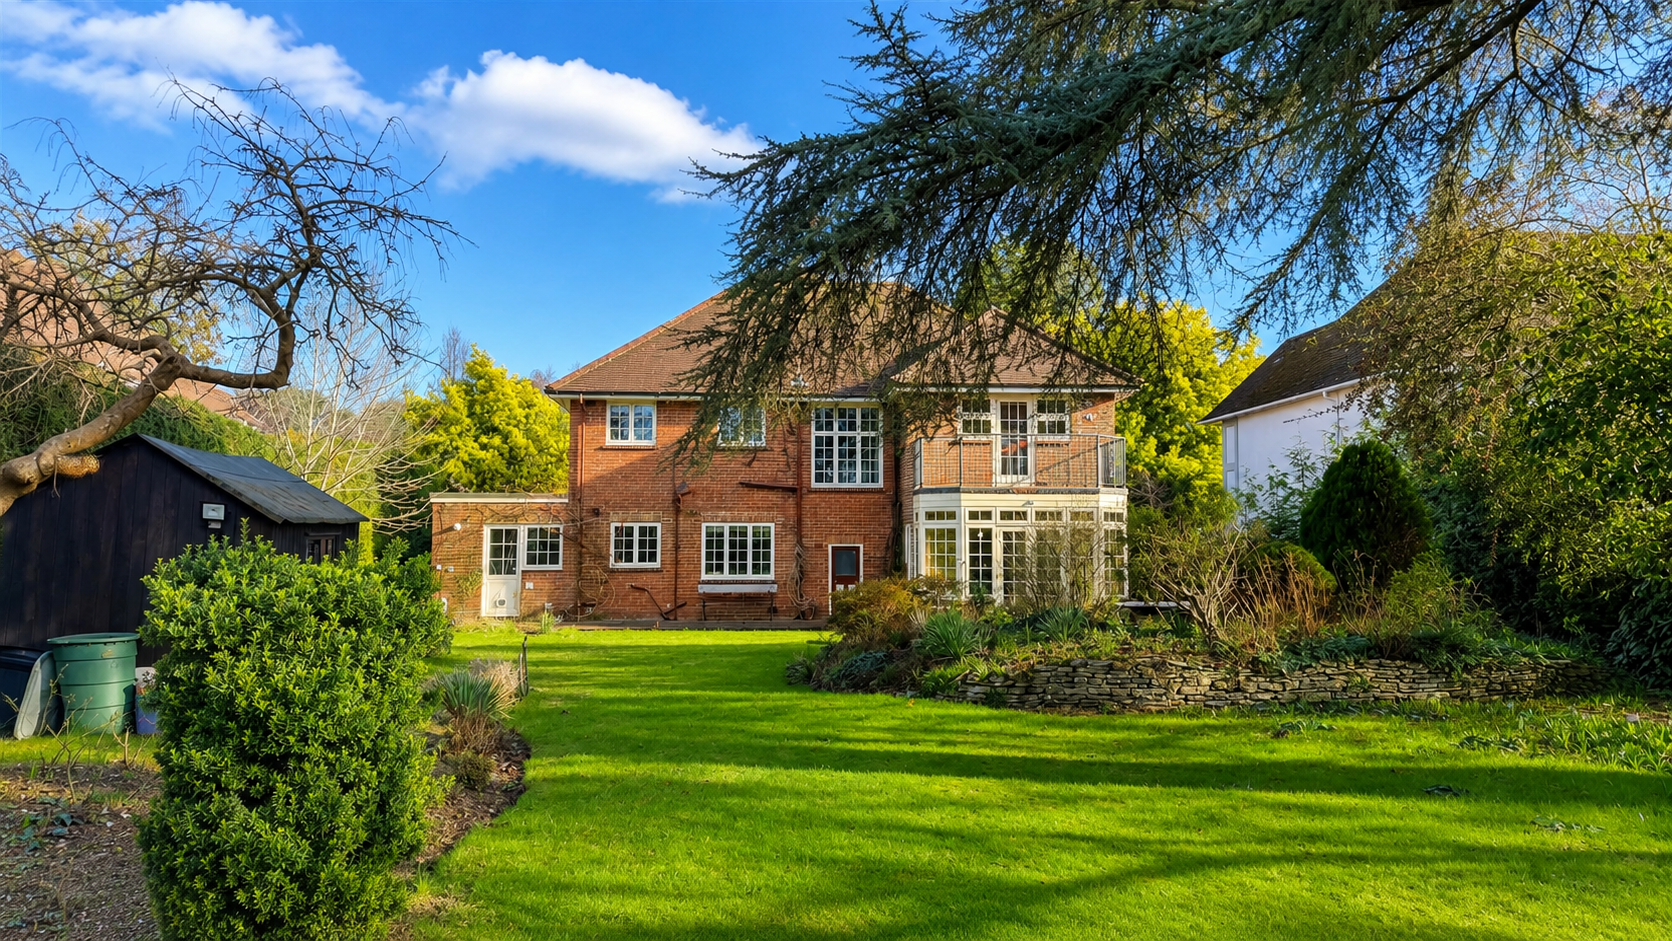
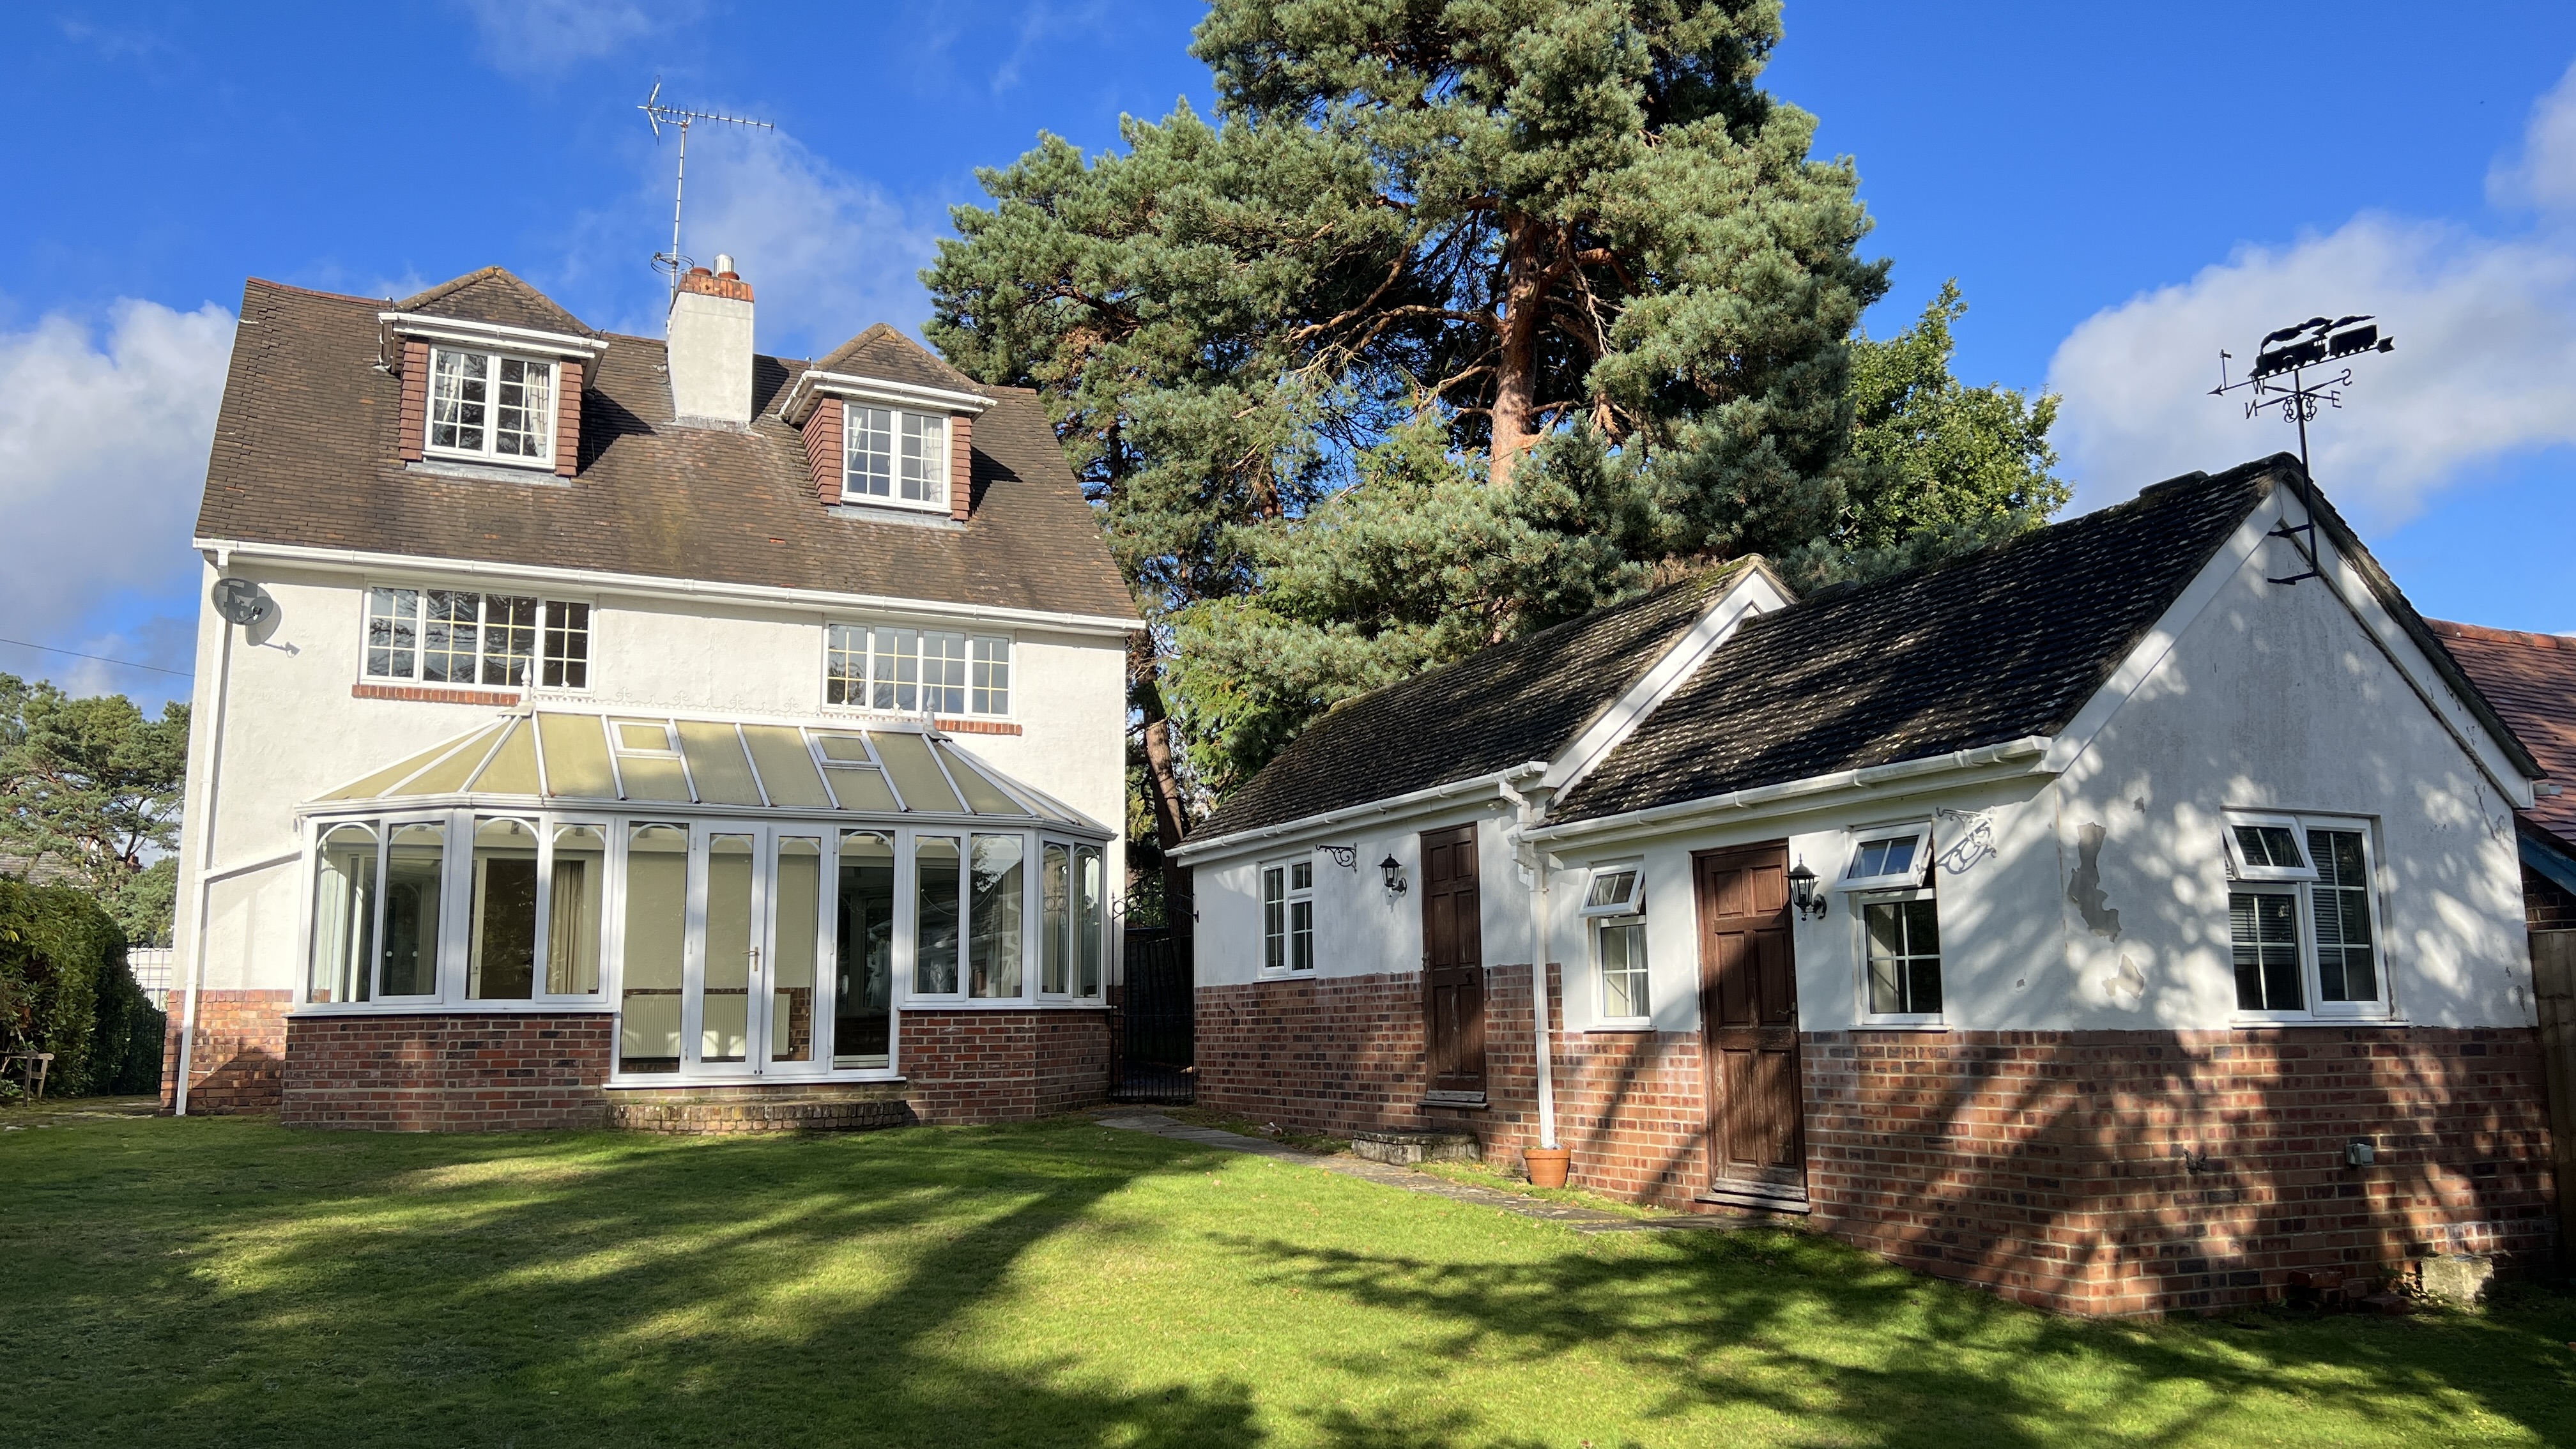
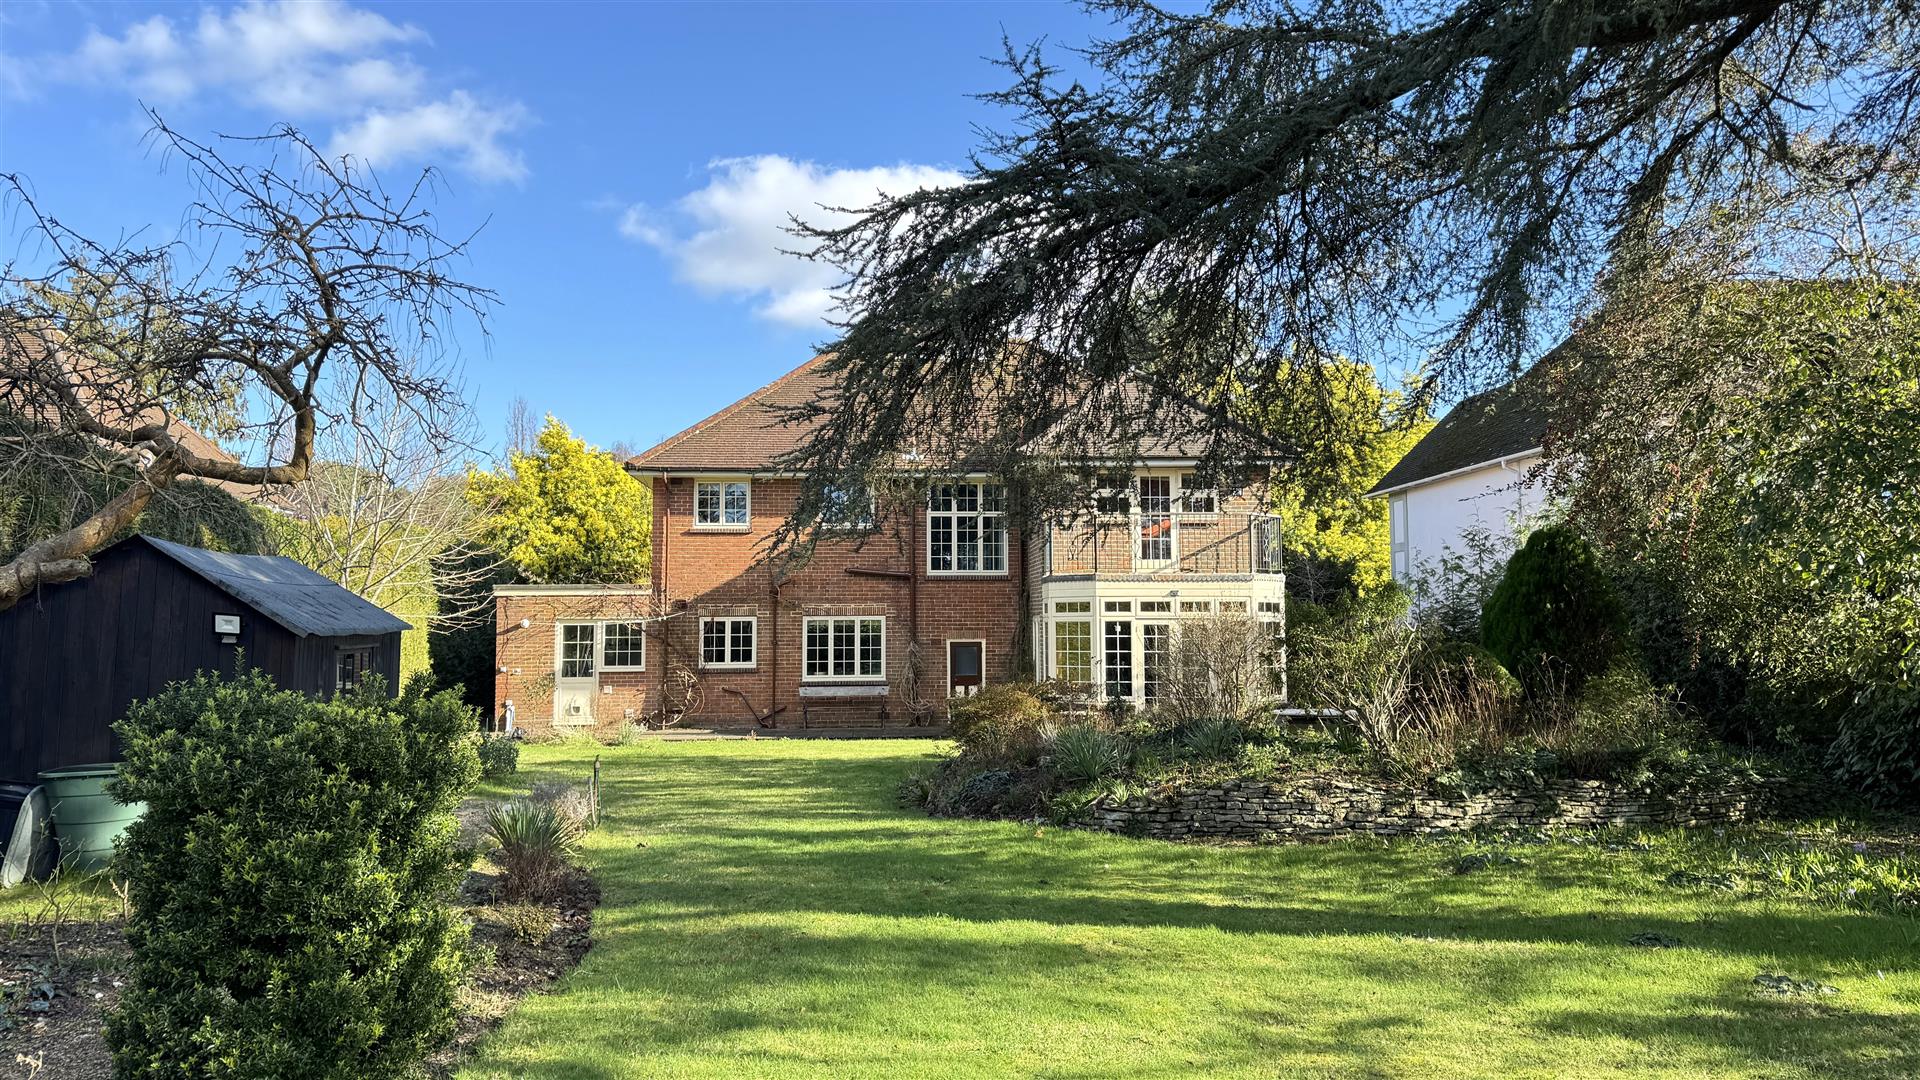
Harsh direct sunlight creates strong shadows on the front of a property and blows out pale render or brickwork. A bright overcast day — "soft box light" in photography terms — gives even illumination with no shadows. If you can't wait for the right weather, AI sky replacement can swap a flat white sky for a rich blue one.
Pro tip: Take 3–4 shots of each room from slightly different positions and distances. You can always delete the weaker ones — but you can't go back and reshoot once you're back at the office.
7. Stage before you shoot
Remove anything from the frame that wouldn't be in a lifestyle magazine: coats on hooks, pet bowls, loose wires, bins, excessive fridge magnets. This isn't about deceiving buyers — it's about removing distractions. A clean, staged photo focuses attention on the room itself, not the owner's stuff.
After the shoot: use AI enhancement
Even with perfect technique, iPhone photos often have issues that can't be avoided on site: a dull grey sky, slight colour casts from mixed lighting, or rooms that feel slightly flat compared to how they looked in person. That's where AI enhancement comes in. Tools like ReShot correct all of these in a couple of minutes: the walls straighten, the colours come back to what you saw in the room, and the sky stops being grey. First photo free, then 99p pay-as-you-go or from 50p per enhanced photo on a plan.
Shoot it properly at the valuation, run it through enhancement that evening, and the listing that goes live tomorrow no longer looks like it was shot on a phone at the valuation. That is the whole point of the seven steps above.
See it for yourself — free first photo
Upload a phone photo from your last valuation and get it back straightened, brightened and colour-corrected in under 5 minutes. No subscription required to start.
Try ReShot free →