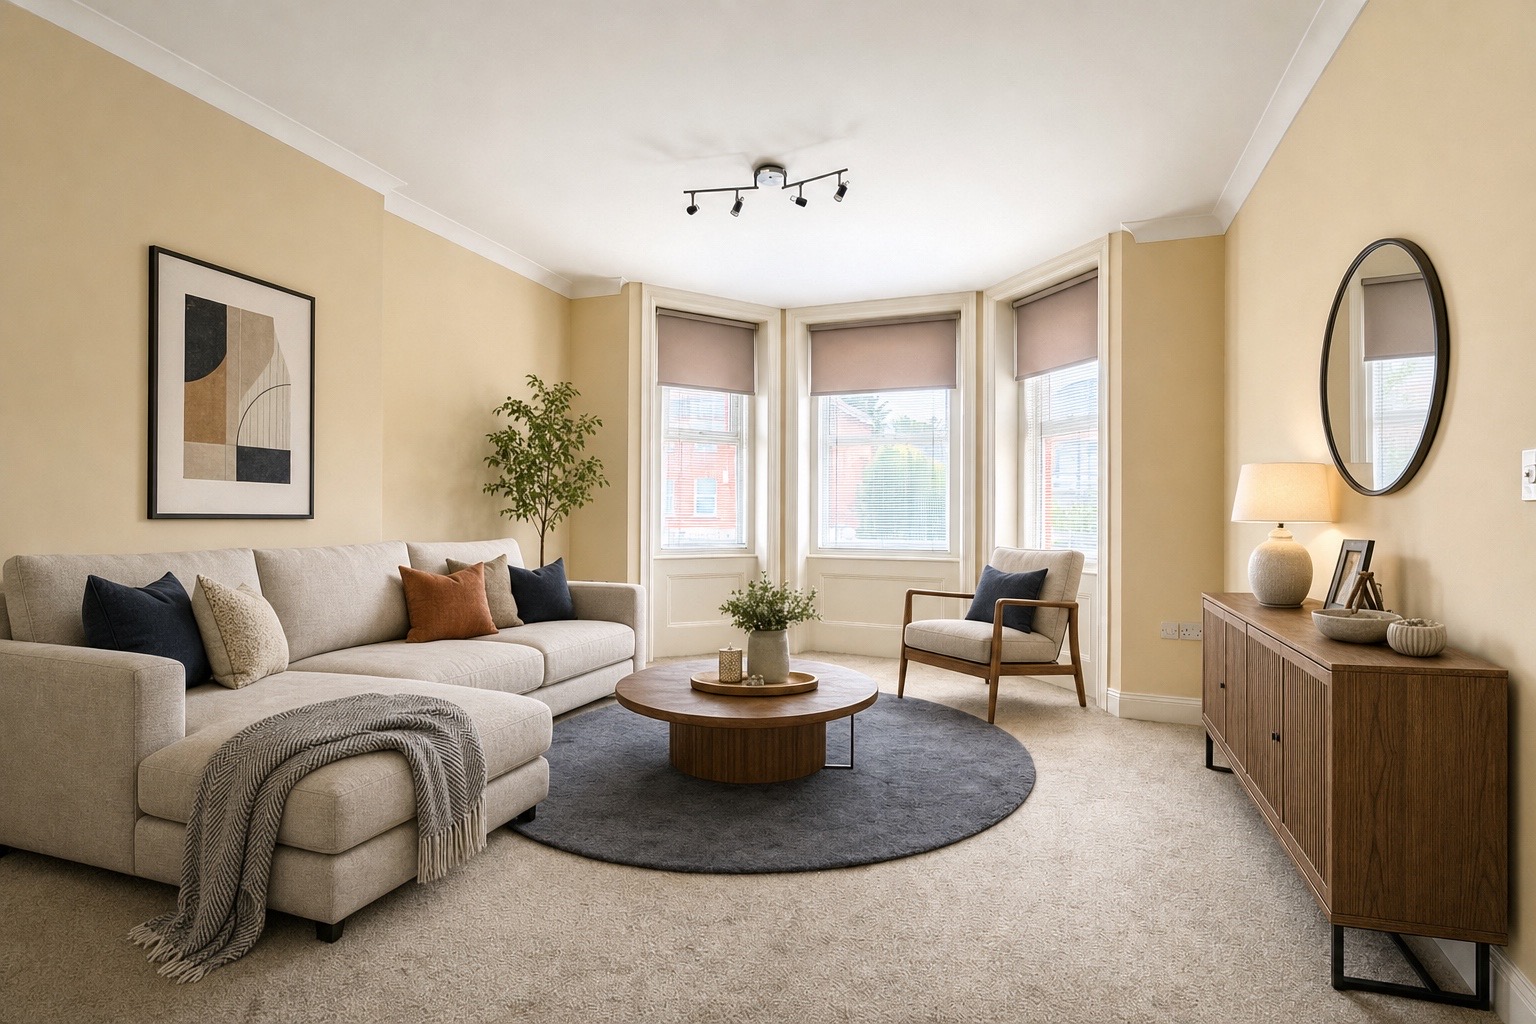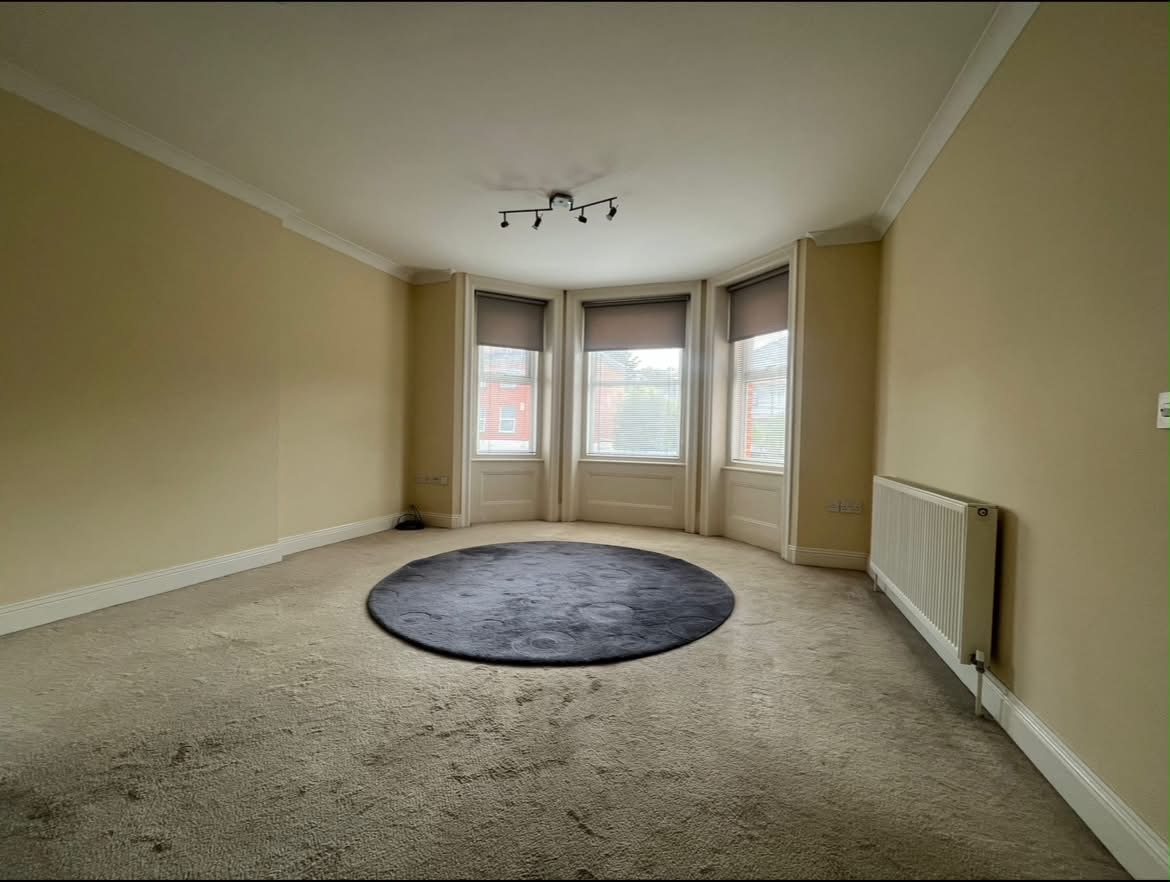
Property photography has changed more in the last three years than in the previous fifteen. The arrival of capable AI enhancement has fundamentally shifted what's possible with standard phone cameras — and what buyers now expect when they browse Rightmove.
This guide covers everything an estate agent needs to know about getting consistently professional results in 2026.
Equipment: what you actually need
For standard instructions, the debate about DSLR versus phone is largely over. Modern iPhone and Android flagships — the iPhone 15 Pro and above, or the Samsung Galaxy S24 range — capture enough detail that the things that give a phone photo away on a listing (converging walls, a yellow cast, a burnt-out window, a grey sky) can all be corrected afterwards. What a phone still can't give you is a wide lens, a steady twilight shot or a photographer's judgement on the day.
What you actually need:
- A current flagship phone (updated every 2–3 years)
- A small portable tripod (optional but useful for interiors — around £30–50)
- AI enhancement software subscription
You do not need: a DSLR, a wide-angle lens attachment, a flash system, or professional lighting equipment for standard instructions.
Timing: when to shoot
For exterior shots, the best time varies by the property's orientation:
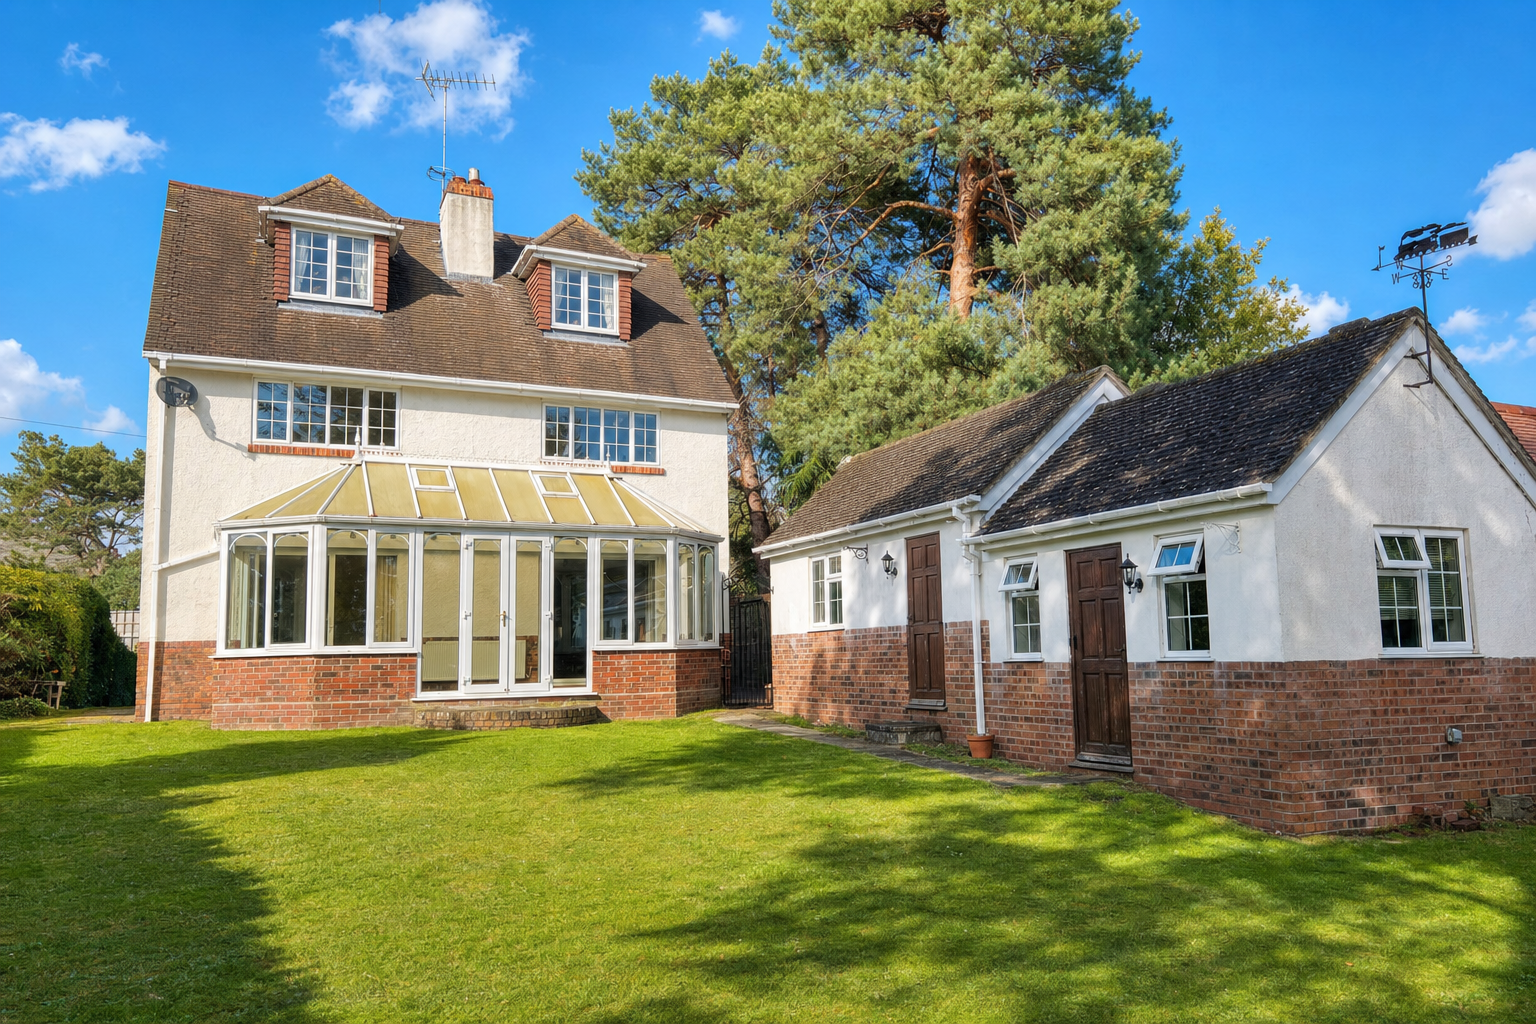
- South or west-facing fronts: Shoot in the afternoon for direct sunlight on the facade
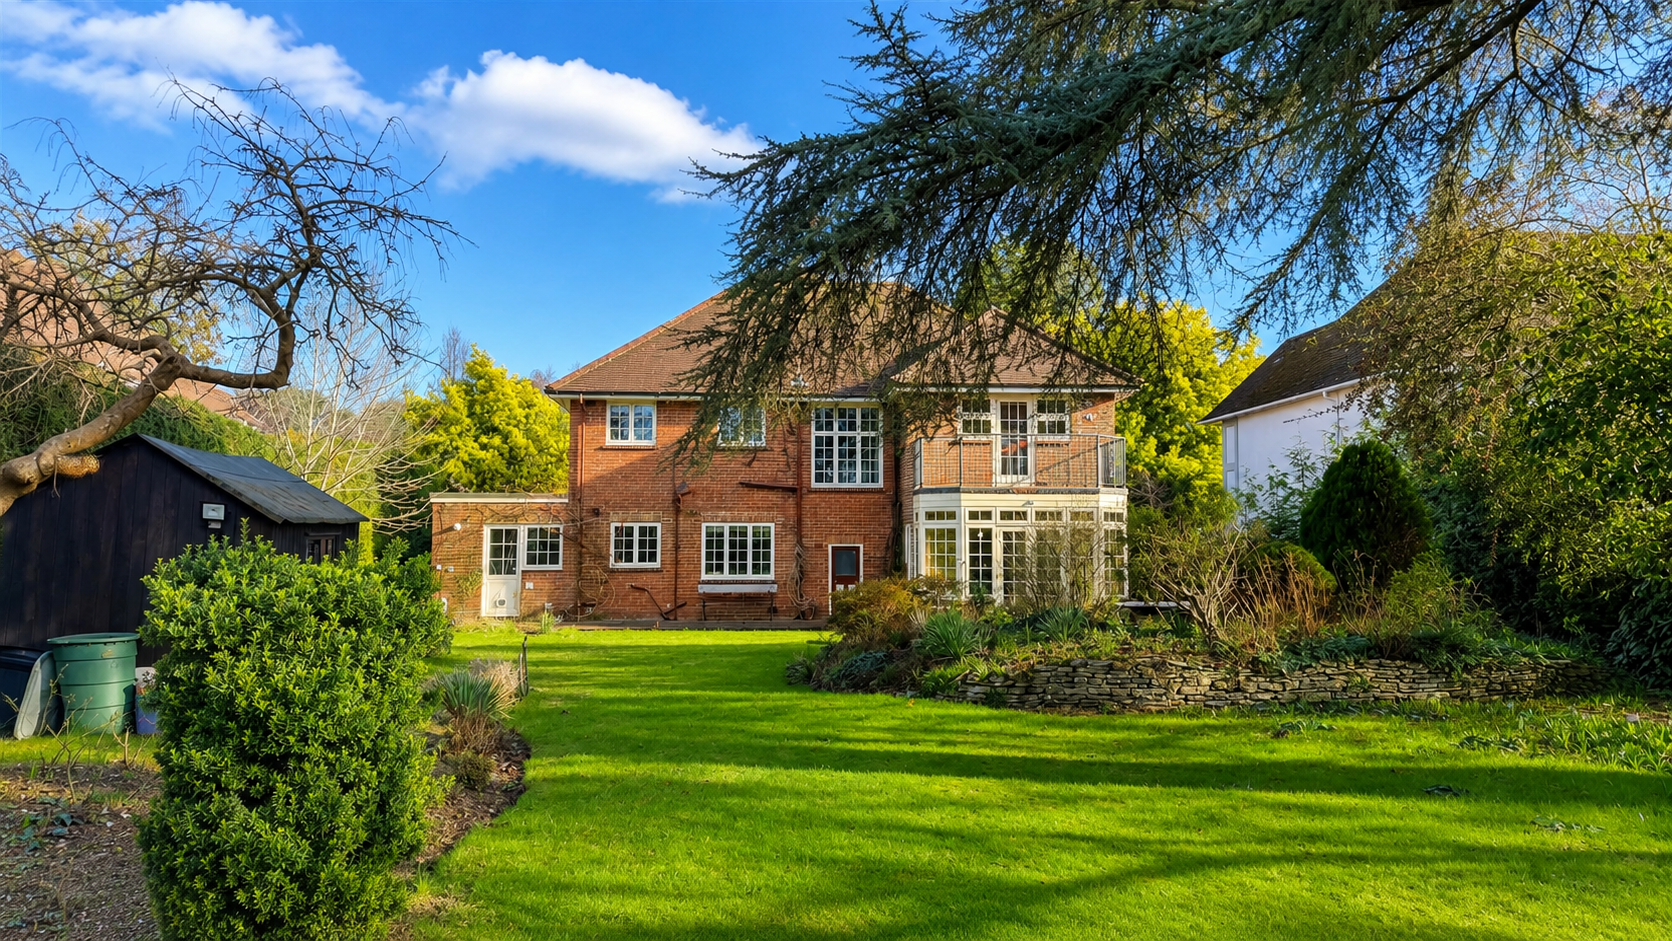
- North or east-facing fronts: Shoot in overcast conditions — direct sun is impossible and harsh shadows are worse than flat light. AI sky replacement will fix the grey sky.
For interiors, timing matters less — artificial lighting compensates for most natural light variations. But on sunny days, shoot rooms with south-facing windows early morning or late afternoon to avoid blown-out window glare.
The pre-shoot checklist
Before taking a single photo:
- Open all blinds and curtains fully
- Turn on every light — ceiling, lamps, kitchen under-cabinets
- Remove bins, pet accessories, visible personal clutter
- Make all beds properly
- Clear kitchen surfaces (keep one or two tasteful items — a fruit bowl, a coffee machine)
- Close toilet lids
- Remove cars from the driveway if possible
- Ensure bins are not visible in exterior shots
Composition: the basics that make the biggest difference
You don't need to understand the rules of thirds or the golden ratio. You need to understand three things:
Show the whole room. Shoot from corners and doorways. Get as much of the space in frame as possible. Buyers want to understand the layout, not see a cropped section of a wall.
Keep verticals straight. Slanted walls and floors look wrong, even if the viewer can't articulate why. Use your phone's grid lines and keep the camera level.
Choose your angle for the biggest perceived size. The same room can look 20% larger or smaller depending on where you stand. Test a couple of positions before committing.
The 3-photo rule: Take at least 3 shots of each room from slightly different positions. You're more likely to find a great shot in 3 attempts than in 1. Storage is free — wasted trips back to reshoot aren't.
Post-processing: what to do with raw photos
No matter how good your technique, raw phone photos benefit from enhancement before upload. The most impactful corrections are:
- Sky replacement — turn any grey sky exterior into a bright, appealing shot
- Exposure correction — lift shadows, recover highlights, balance bright windows with interior detail
- Colour correction — neutralise mixed lighting colour casts, correct white balance
- Perspective correction — straighten converging verticals caused by shooting at an angle
AI tools like ReShot handle all of these in a single step. Upload, wait a few minutes, download. The result is consistently professional across your entire listing set.
Workflow: from shoot to live listing
The most efficient workflow:
- Shoot at the valuation or a dedicated photo visit (30–45 minutes)
- Upload all photos to ReShot that evening
- Download enhanced photos the same evening
- List on Rightmove the following morning
This gets you from instruction to live listing in under 24 hours — which is where you want to be. See how 340+ UK agents are using this workflow →
See it for yourself — free first photo
Upload a phone photo from your last valuation and get it back straightened, brightened and colour-corrected in under 5 minutes. No subscription required to start.
Try ReShot free →